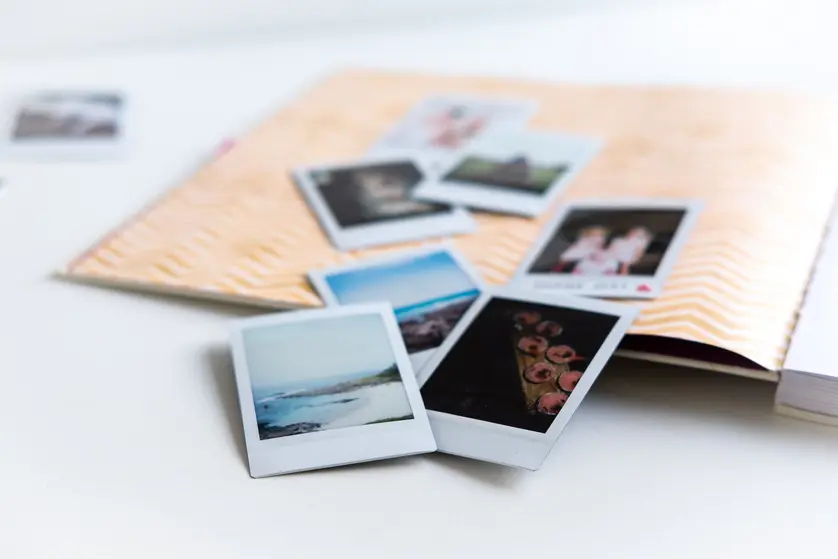
Digital scrapbooks are really fun projects when you want to get creative and play around with photos and custom designs, all without the mess of real-life arts and crafts. However, creating an online scrapbook requires all your design assets to be digital. But what if you want to use physical photo prints and don’t have digital copies?
Your amazing scrapbook could showcase vintage photos of your older relatives or prints from the days when point-and-shoot disposable cameras were the norm. Maybe you've lost track of digital copies and only have prints you made of pics that would be perfect for your scrapbook.
Fortunately, putting photo prints into a digital format is easy, and so is organizing those prints to use in photo books. This guide explains exactly what you need to do, step by step.
A step-by-step guide to organizing photo prints to use in photo books
Organizing your photo prints so you can use them in a custom book is probably easier than you think. Here's what to do:
- Gather all the photos you want to use
- Put the photos in order
- Scan your pictures into a digital format
Here's a closer look at each step with more detail.
Step 1: Gather the photos you want to use
If you're like most people, you have a collection of printed photos in your home. Some may be in photo albums, envelopes, storage boxes, or even scrapbooks that you've made in the past. To get your photos ready to scan into a digital format, remove them from protective coverings—scans don't turn out well if the photos are behind a plastic sheet. As long as you can do it without causing damage, carefully remove your photos from albums and scrapbooks
Step 2: Organize your photos
You don't have to put all your photos in order before you move on to the next step, but it's typically easier to keep them organized if you scan them in order. When you scan your photos, the computer or machine you use will most likely assign file names to them. It's easier to work with digital photos when the file names can lend you a hand in organization.
Related: The ultimate guide to digital photo organization
Step 3: Scan your photos
You have several options when it comes to scanning your photos. You can use your own flatbed scanner. Many home printers have a scanner function, and there are apps available for smartphones that scan in high resolution, as well.
Or, you can take your photos to scan yourself at a corner pharmacy, big-box retailer, or shipping/mailing store. You can also send them out to a service that scans photographs for you and delivers the files electronically.
Pro tip: Don't take pictures of photos directly with your smartphone’s camera. Use a scanning app for superior results.
The exact steps for flatbed scanners vary, so look up the instructions if you’re unsure. Generally, you will place the photo face-down on the scanning surface and hit a button marked "Scan." Depending on the setup, you’ll see a prompt on the scanner’s screen or a connected computer or tablet. Choose the format and location in which to save the file.
Scanning apps also have distinct steps for use, but most are intuitive and provide on-screen instructions and tips. Place your photo on a light-colored, smooth and flat surface with natural lighting conditions for the best results.
Check the settings for your scanner or app. Photos for photo books need to be high-resolution for the best results. Mixbook recommends a minimum of 300 dpi.
Related: What is the recommended file format & quality specs for my photos?
What to do after your photos are scanned
After you've scanned your photos, you'll most likely have them in one of two formats: .jpg or .png. That means your photos will have file names that end in one of those two extensions. Your file names will most likely look like these, with the extension at the end of the file name:
- IMG1234.jpg
- Photo1234.png
- 20201104.jpg
If you haven't already saved all your photos to your computer, you should do so now. It's best to keep them all together in one folder so that you can easily access them when it's time to upload them to Mixbook.
Choosing a photo book theme for your digital scrapbook
Take some time to browse Mixbook’s photo book themes so you can choose the best template for your scrapbook. There are hundreds of themes available, covering an enormous range of photo book ideas and aesthetic styles. If you want to create a photo book totally from scratch, start with a blank canvas instead.
Here are some themes that capture the looks and contents of a classic scrapbook:
When you've settled on a theme or blank canvas, launch the project in Mixbook Studio™ and upload your photos. Click "Start Book" and follow the on-screen instructions to create something amazing.
Related: 35 Scrapbook Ideas To Capture Memories
Have you used photo prints in a digital scrapbook?
We love success stories, and we love seeing creativity from all over the world. Share a few snapshots of your favorite photo books with us on Instagram (we're @Mixbook) or even share some pictures you only had in print that you converted to a digital format. Your creativity will inspire other Mixbookers!
